How To Build An Opt-In Landing Page With WordPress (Step-By-Step)
Building a WordPress website is only the beginning.
You can’t create a website and just sit around hoping that the money will come rolling in. And the same goes for building a bigger email list. People don’t come running when a new site launches and sign up for email newsletter like it’s going out of style.
It just doesn’t work like that.
What does work, however, is drawing site visitors to your website using various channels such as search results, social media, and email campaigns and convincing people to take action.
And there’s no better way to do that than with an opt-in landing page.
Whether your goal is lead generation or making money, creating an opt-in landing page is an effective way to boost conversions.
Of course, you could always use another popular WordPress landing page plugin to get the job done.
But what I’m going to do is use the landing page builder Thrive Architect because it has such amazing pre-designed templates I can get my opt-in landing page up and running fast.
As an added bonus, I’m also going to show you how to set up split testing of your landing pages using the Thrive Optimize add-on.
So, what are you waiting for? Check it out!
Why use Thrive Architect to create opt-in landing pages?
A landing page is a dedicated webpage on your website that has one single goal: to get people to take action.
People arrive on your landing page from external sources such as search results, paid ad campaigns, social media, and more. In fact, landing pages are used primarily as a marketing technique to drive traffic to your site and get them to convert.
When it comes to creating landing pages for your site, you need something with more power than the default WordPress editor. Because truth be told, WordPress is great as a blogging platform, but as a page builder, it falls short.
That’s where Thrive Architect comes in handy.
Built to be the fastest and most intuitive visual editor for WordPress (according to Thrive Themes), Thrive Architect lets you create conversion-focused landing pages with ease.
With 276 pre-built landing templates, built-in elements, a drag & drop interface, and so much more, you can easily create a webpage that entices people to take whatever action you want them to.
How to create an opt-in landing page using Thrive Architect
The first thing you’ll need to do before building your opt-in landing page is purchase Thrive Architect by getting the Thrive Suite here.
Next, install and activate it on your website just like you would any other WordPress plugin.
Step 1: Launch Thrive Architect & choose a template
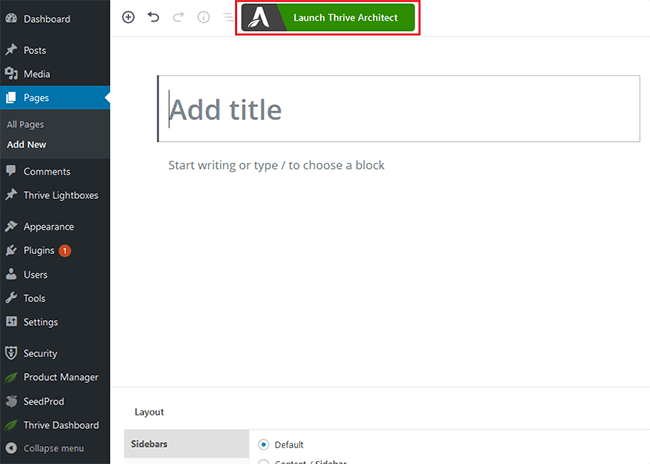
Once Thrive Architect is installed and activated on your website, go the WordPress dashboard and click Pages > Add New.
Then, open the Thrive Architect editor by clicking the Launch Thrive Architect button.
Once Thrive Architect is open, click the Change Template icon on the left hand side.
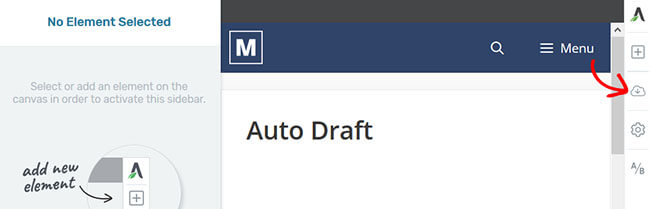
Doing this opens up the landing page templates that come with the Thrive Architect page builder. There are tons of templates to choose from that make creating landing pages a cinch. And since they’re organized in sets, finding the right one for your needs will only take a few minutes.
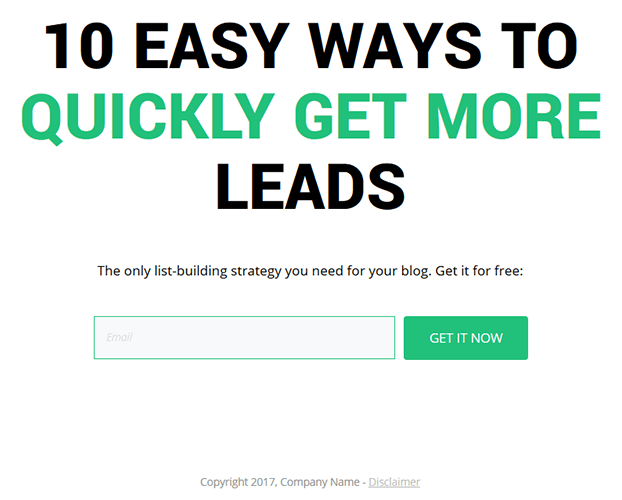
You can create several types of opt-in pages with Thrive Architect. The first is a simple opt-in page that collects site visitor email addresses.
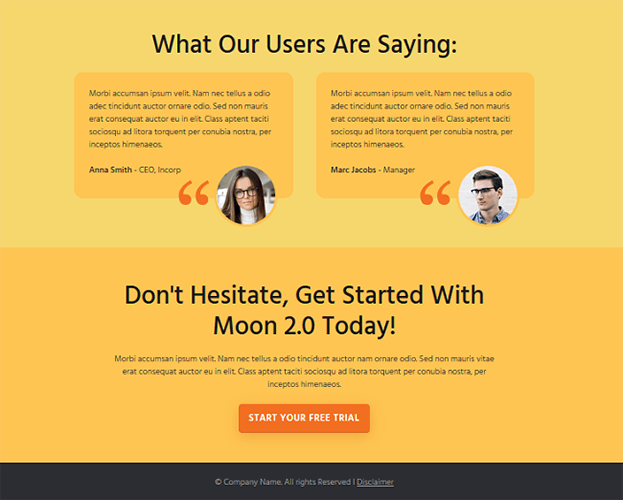
You’ll also find templates for more complex landing pages. This includes sales pages, webinar pages, and more. Here’s an example:
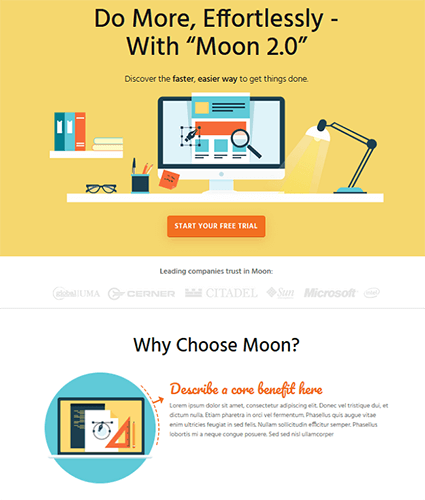
As you scroll down the page, you’ll see that it’s a 2-step opt-in page that requires people to click a CTA button and then proceed to sign up, request a quote, get a free trial, etc.
For my example, I’m going to create a simple opt-in page that asks site visitors for their email.
Step 2: Customize your landing page
The great thing about Thrive Architect is that it’s 100% customizable. In fact, you can change any element on the page you want.
All you have to do is click on an element you want to change and watch the editor open.
I’ll take you through some of the most common customizations. Just keep in mind, your customization options are endless.
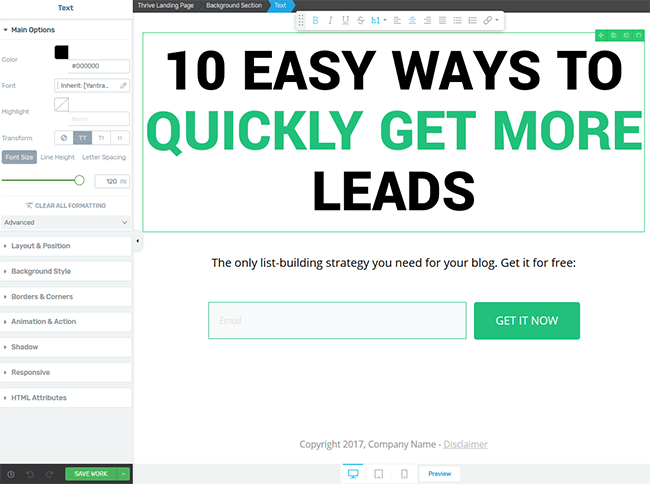
The first thing I want to change is the opt-in page headline. I’ll do this by clicking on the text and replacing the existing headline with the copy I want. I’ll then use the sidebar editor to do things like change the font, text color, and background color.
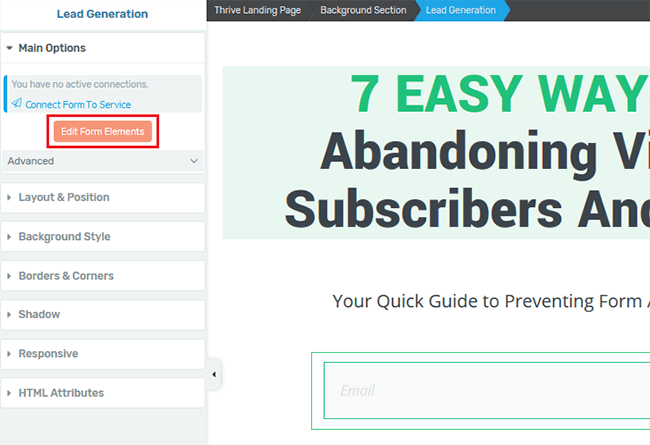
The part of my opt-in page I want to customize next is the call to action section.
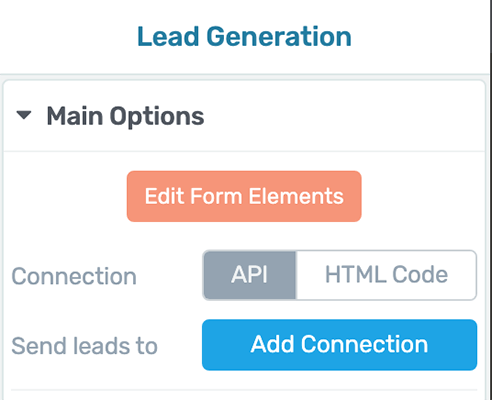
To do this, click on the call to action button. Then, click on the Edit Form Elements button that appears under the ‘Main Options’ section of the editor. This tells Thrive Architect that I wan
t to edit the lead generation portion of my opt-in landing page.
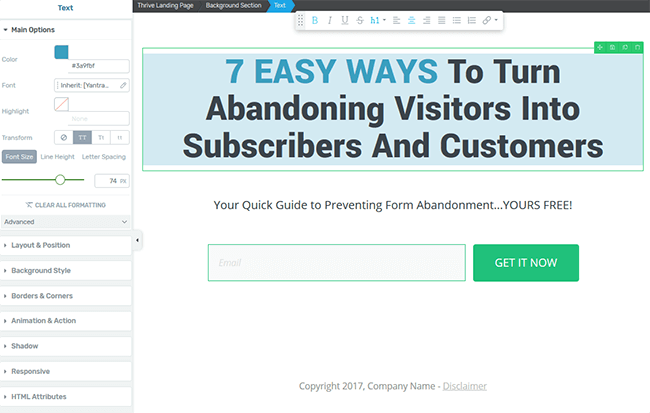
Next, click on the exact elements you want to edit one by one and make your changes. In this example, I changed the opt-in form field border color and the CTA button color and copy.

I also went ahead and changed the copyright text at the bottom of my landing page.
The last thing you should know is how to add a new element to your opt-in page. To do this, just click the [+] Add Element icon on the ride hand side of the visual editor.
Choose from elements such as:
- Image
- Button
- Countdown timer
- Icons
- Star ratings
- Video content
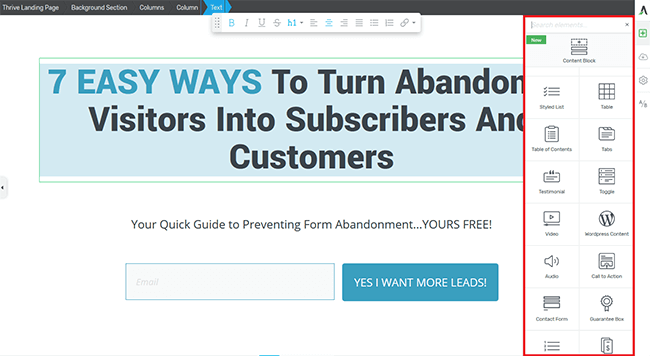
When you find the element you want to add, just drag it to your opt-in page and continue editing. It’s that simple.
For my opt-in page I’m going to keep things minimal.
Step 3: Connect to your email service provider
Once you’ve customized your landing page to look the way you want it to, it’s time to connect it your email service provider. This way, anytime someone subscribes to your opt-in, the lead information is sent directly to your email service.
Start by clicking on the lead generation portion of your opt-in page. To make things easy, click on the call to action button. In your Main Options tab you’ll see two options to add a connection: API or HTML Code. Highlight API and click on Add Connection:
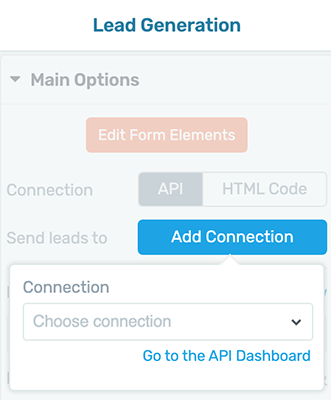
A tab will appear with a dropdown menu with connection options. However, if you haven’t set up an API connection yet, click Go to the API Dashboard:
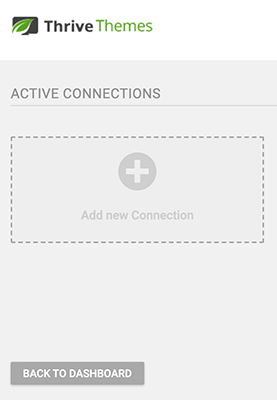
A new window will open; Active Connections. Click Add new Connection, this will allow you to select your preferred email service provider from the dropdown menu.
Select which connection you want:

Once you pick your email provider, you’ll need to enter your credentials and click Connect. This tells your email service provider to begin collecting email addresses that are submitted through your newly created opt-in form.
If this is done correctly, you’ll see your email service provider in the API Connection section.

One of the best things about Thrive Architect is this feature alone. It has more email marketing integrations than most other plugins we’ve tested. And the custom HTML form option for any it doesn’t integrate with directly.
Step 4: Configure opt-in settings
After you’ve connected your opt-in landing page to your email service provider, you’ll need to configure the opt-in settings.
The first thing you’ll need to do is choose your existing API connection. For my example I’ll select Mailchimp since that’s my email service.
The next step is to set my connection details:
- Mailing list
- Grouping
- Type of opt-in
- Tags
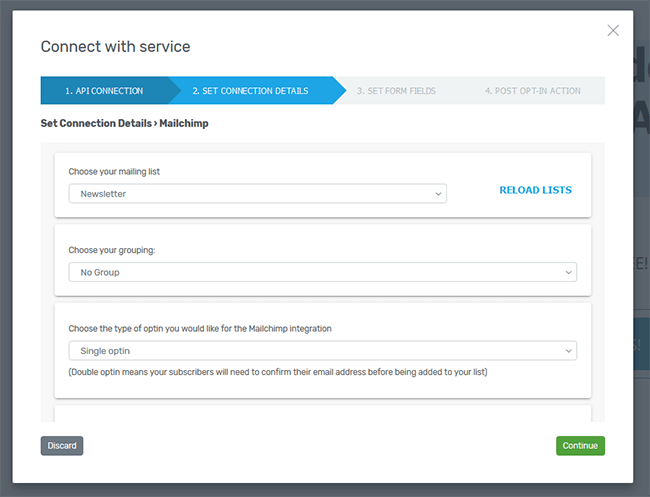
Keep in mind, if you use an email service provider that’s different than Mailchimp, this section may look different for you.
Click Continue.
Now it’s time to save the form fields. By default, my landing page already asks site visitors for their email. If I wanted to ask for additional information, such as a name or phone number, I could click Add a New Field.
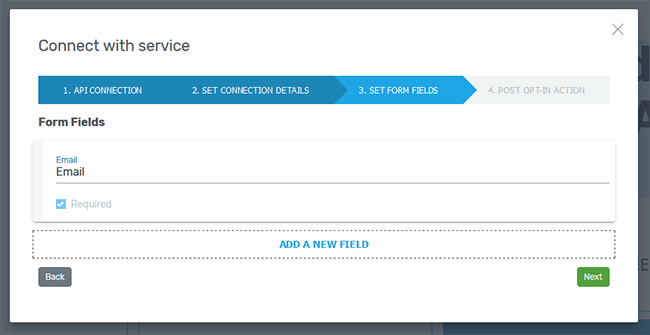
For this example, I’m sticking with just an email.
It’s here that you can also decide whether to make the form fields on your lead generation form required for submission.
Click Next.
Now it’s time to decide the post opt-in action:
- Reload the page
- Redirect subscribers to a custom URL
- Show a success notification
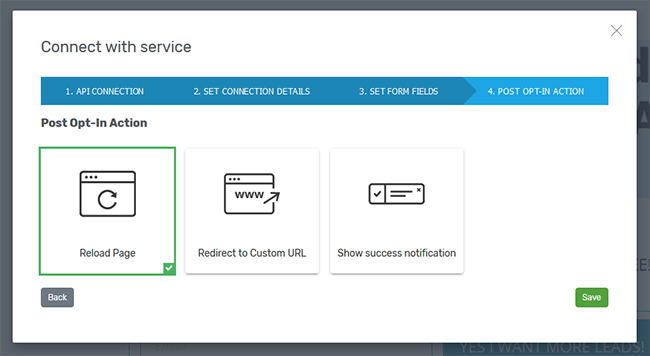
You’ll be able to offer your leads a better user experience by having so much control over what happens when they sign up. It also helps let people know their submission went through and what to do next.
When all of these settings are configured, click Save. Then, click Save Work in the Thrive Architect editor.
Close the Thrive Architect editor and publish your page. This is what my opt-in landing page looks like on the front end of my site:
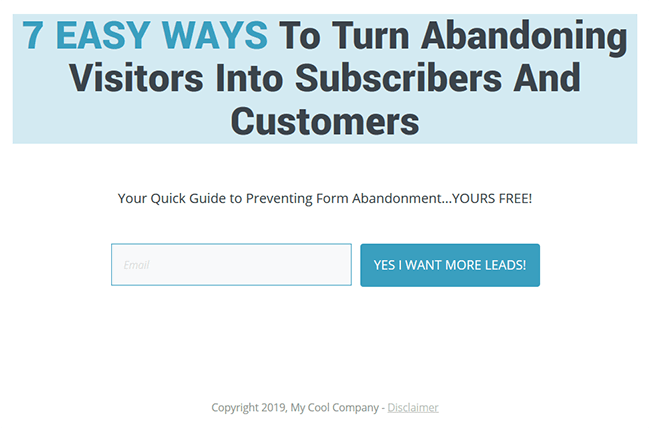
Yup…it looks exactly like it did in the Thrive Architect editor. That’s because Thrive Architect gives you a live preview as you edit your landing page.
How to split test opt-in landing pages using Thrive Optimize
The reason you spend all this time creating stand out opt-in landing pages is to boost conversions – whether that means growing your email list or securing more sales.
However, if you’re not A/B testing different landing page variations, how are you supposed to know you’re gathering as many leads or sales as possible?
That’s right, you can’t.
Luckily, Thrive Architect has the perfect add-on to help you out: Thrive Optimize.
Thrive Optimize gives you an easy way to find out which opt-in landing pages on your WordPress website performs the best and generates the most email signups.
So, let’s see how to start split testing your newly created opt-in landing page.
But first, make sure you purchase the Thrive Suite here if you don’t have it already.
Step 1: Open the page you want to test
The first thing you’ll need to do is open the landing page you want to A/B test. This will be called your control page.
Once you’ve opened it, click the Launch Thrive Architect button to get back to the editor.
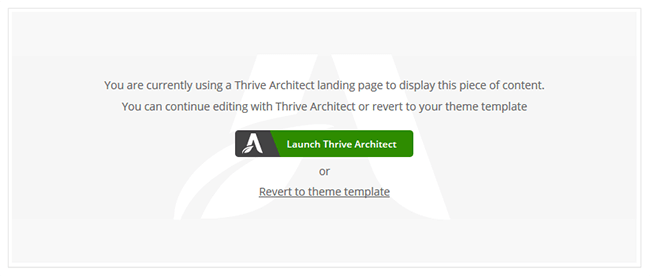
When you get to the editor interface, click the small Create New Test A/B icon on the right hand side.
Step 2: Add variations
Once you set up a new A/B test, you’ll have two ways to add a new variation:
- Click the blue Add New button
- Click Add new variation
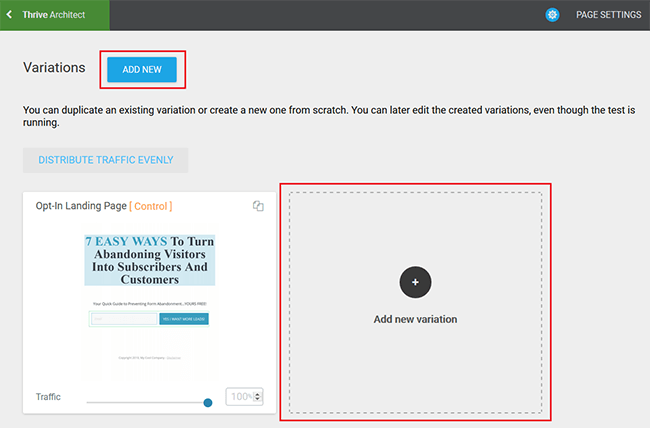
Keep in mind, when you click either of these options, a blank opt-in page will be created. This means you’ll have to create a brand new opt-in page from scratch. This is okay if you want to change templates or make run a drastic split test.
If, however, you just want to make small tweaks to your existing opt-in page, click the Duplicate this variation button.
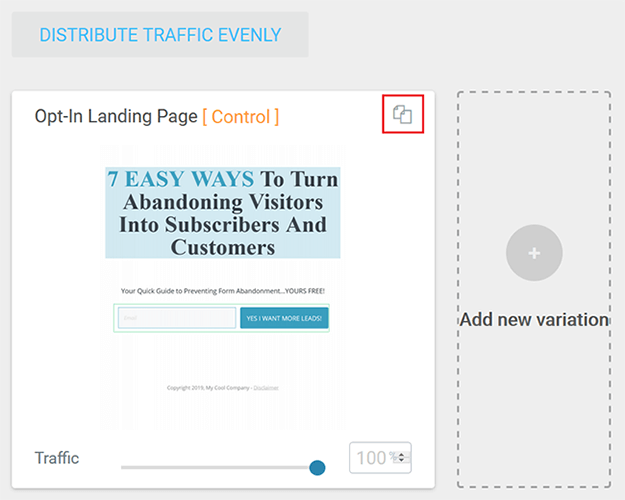
For my example, I’ll duplicate my existing opt-in landing page.
Hover over the duplicate opt-in page and click on Edit Variation to make your changes.
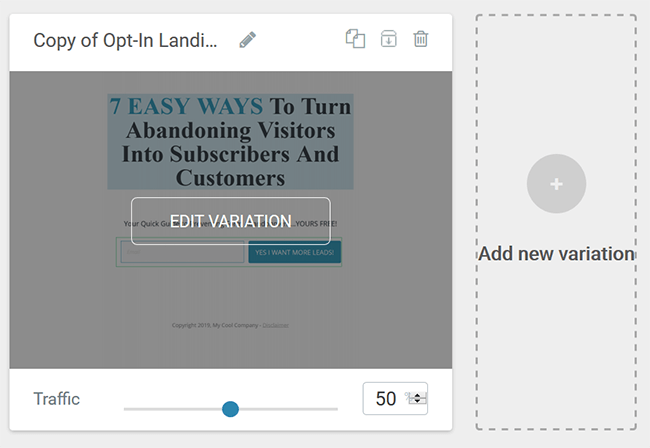
This will take you to the Thrive Architect editor (which you should be familiar with) so you can make your changes. You can test many landing page elements against one another such as headline, CTA, social proof, and images.
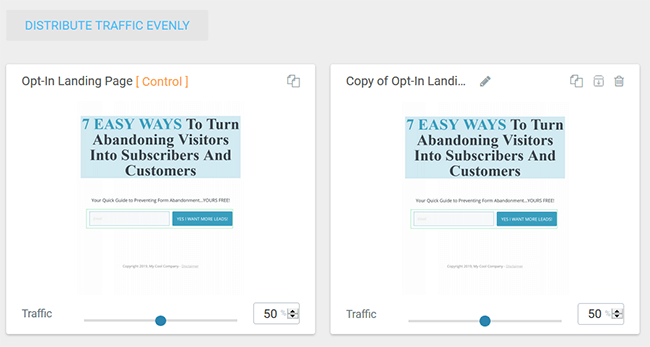
When you’re done, click Save Work and then the A/B icon to see your two page variations against each other.
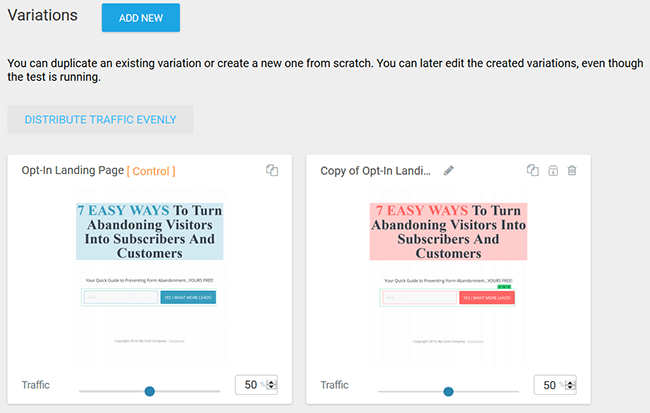
Notice all I did was change the color scheme of my opt-in page. You could change a lot more – maybe the entire design.
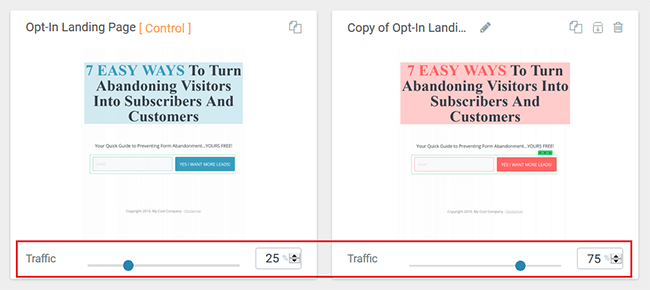
Step 3: Configure traffic distribution
It’s worth noting that you can change the amount of traffic that is distributed to each opt-in page variation. This is especially helpful if you’re going to create more than one variation to split test, which you can do by adding yet another variation.
If you want to change the traffic distribution, use the sliders or arrows on each page variation. As you change one percentage of traffic distribution, the other variation(s) will adjust automatically.
Step 4: Set up & start A/B test
Click on the Set Up & Start A/B Test.

On the popup screen, fill in the fields and enable automatic winner settings if you want Thrive Optimize to choose which opt-in landing page converts the highest.
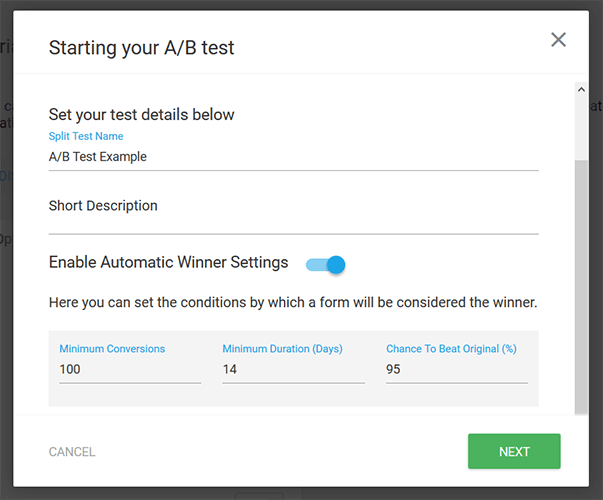
Make sure to check the conditions too. Remember, the longer you split test your variations, the more accurate the results will be. Sometimes, patience is the key to success.
Click Next to set the overall goal of your split test.
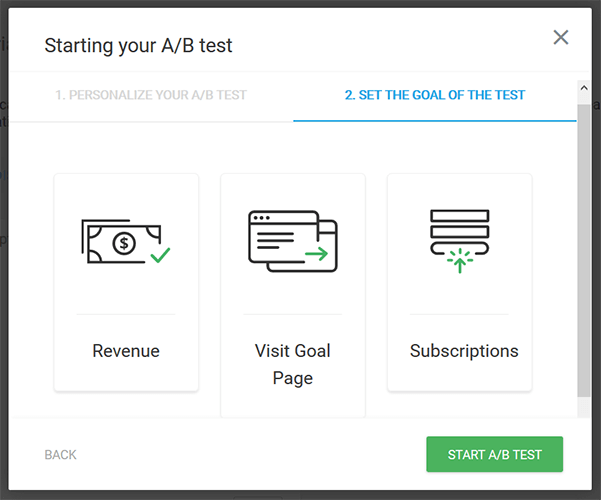
You can choose between the amount of revenue generated (Revenue), the pages people land on (Visit Goal Page), or the number of people who subscribe (Subscriptions).
Click Start A/B Test.
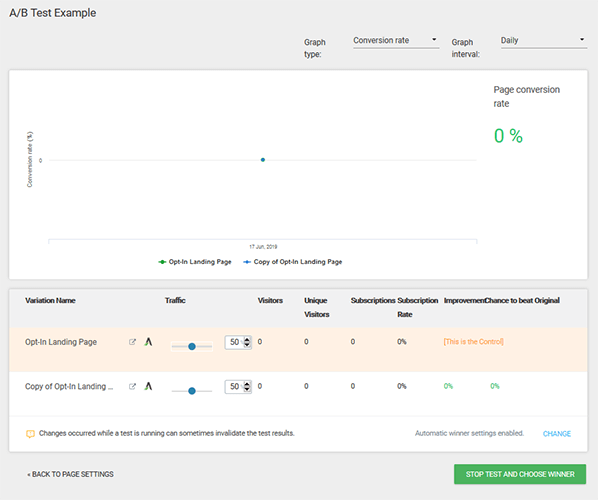
Now you wait. Thrive Optimize will begin displaying the different opt-in page variations to your site visitors and recording data.
To monitor the progress of your landing pages, go to the Thrive Optimize dashboard.

To view more detailed statistics click View Test Details.
Wrapping up
And there you have it! You now know how to build an opt-in landing page that converts using Thrive Architect and A/B test your landing pages using Thrive Optimize.
Thrive Architect is $99/year (renews at $199/year thereafter) as a standalone product or $199/year (renews at $399/year thereafter) paired with Thrive Optimize.
Or you can gain access to these tools by purchasing the Thrive Suite for $299/year (renews at $599/year thereafter), and even better you get access to not only Thrive Architect and Thrive Optimize, but Thrive Theme Builder, Thrive Leads and much more.
Just make sure that whatever you do, you test, test, test your landing pages. Besides creating a landing page itself, split testing your pages is the next best way to make sure you’re not missing out on any conversion opportunities.
